| From 2D to 3D the first steps | ||||||||
| 1. Create the design | ||||||||
| 1.1 load/import the 2D Template | ||||||||
|
Open or import the 2D-Demo-Template with your existing graphic or signsoftware. ...\Programme\MR-3D Designer v.12\Projects\!mr-clipart\mb0817.* |
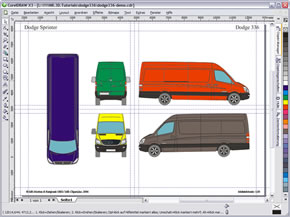 Picture 1.1 |
|||||||
 Picture 1.2 |
 Picture 1.3 |
|||||||
| 1.2 2D Design | ||||||||
|
Use this template in your existing software for your drawings. |
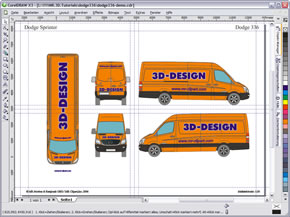 Picture 1.4 |
|||||||
| 1.3 Export as bitmap file | ||||||||
|
Export the whole file as an bitmap file. Picture1.5 You can use one of the foloing fileformats: BMP, JPG, PNG, PCX, TGA or TIF. Please take care that you use the RGB colormode for the export. Save this file in the project folder as mb0817-demo-design: ...\Programme\MR-3D Designer v.12\Projects\!mr-clipart\mb0817\ |
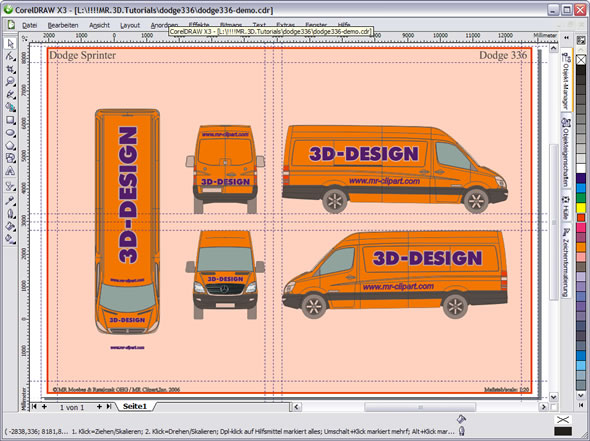 Picture 1.5 |
|||||||
| 2. 3D presentation | ||||||||
| 2.1 Open the 3D Programm and import the bitmap | ||||||||
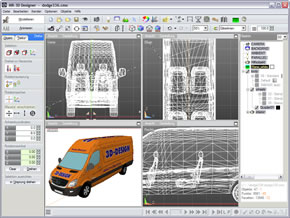
Open the MR 3D-Designer Hit the Button load project in the menue bar or use >File >Load The dialog window load objekts will be opened. Select the file mb0817.cmo from the folder mb0817. |
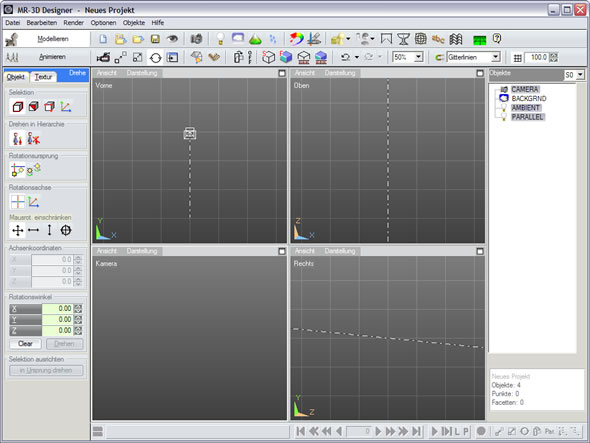 Picture 2.1 |
|||||||
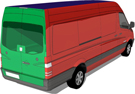
| Now the 3D model is indicated in the four viewports. Picture 2.2 |
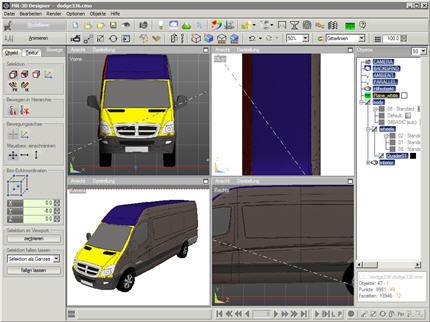 Picture 2.2 |
|||||||
|
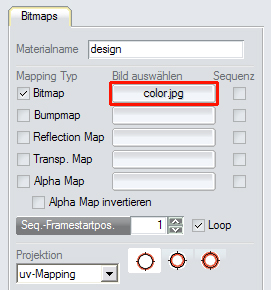
Hit the Button Material or use >Object >Material/Color in the menuebar The dialog Material/Color/Textures opens. Picture 2.3 |
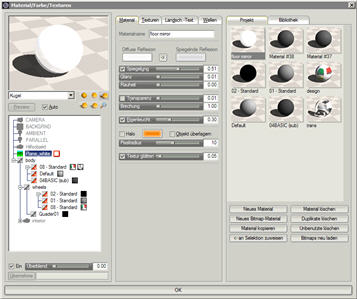 Picture 2.3 |
|||||||
| On the right side is the materialbrowser with all used materials in this project. Hit the material design. Picture 2.3 |
 Picture 2.3 |
|||||||
|
In the middle of the dialog you can change the textures of this material. Hit the button color.jpg |
 Picture 2.4 |
|||||||
|
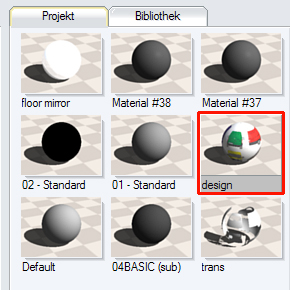
Select your design export mb0817-demo-design. Now you can see a preview of your desing in the left viewport. |
 Picture 2.5 |
|||||||
| 2.2 finish the 3D presentation | ||||||||
|
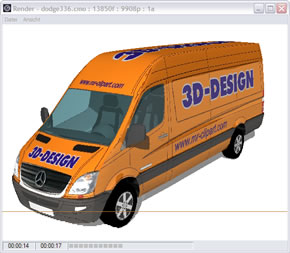
Hit the button Render Final or use the shortcut "S". In the popup window your presentation is renering. Save this image as BMP-, JPG-, PNG-, PCX-, TIF- or TGA-Format. Now you can print it or send it via email to your customer. |
 |
|||||||
| 2.3 Render an animation | ||||||||
|
|
||||||||